For this tutorial I am using an Ubuntu 16.04 LTS install. I already installed Apache2, Php 7.0 and MySql 5.7 on my machine. Drupal needs these to work. I am using a local install and my local site is accessible through http://localhost.
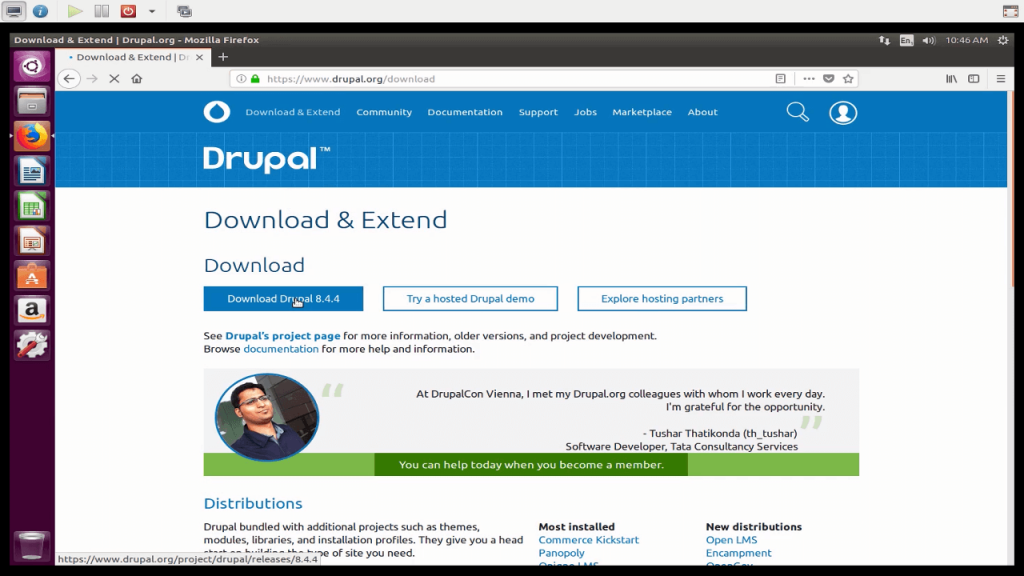
First we need to download Drupal 8. We go to www.drupal.org for the latest version. Click on Download and Extend and here we can download the latest version. In my case that is Drupal 8.4.4. I downloaded the .tar.gz file but if you are on a Windows machine you might choose the .zip file. After downloading, the file should be in your Downloads folder.
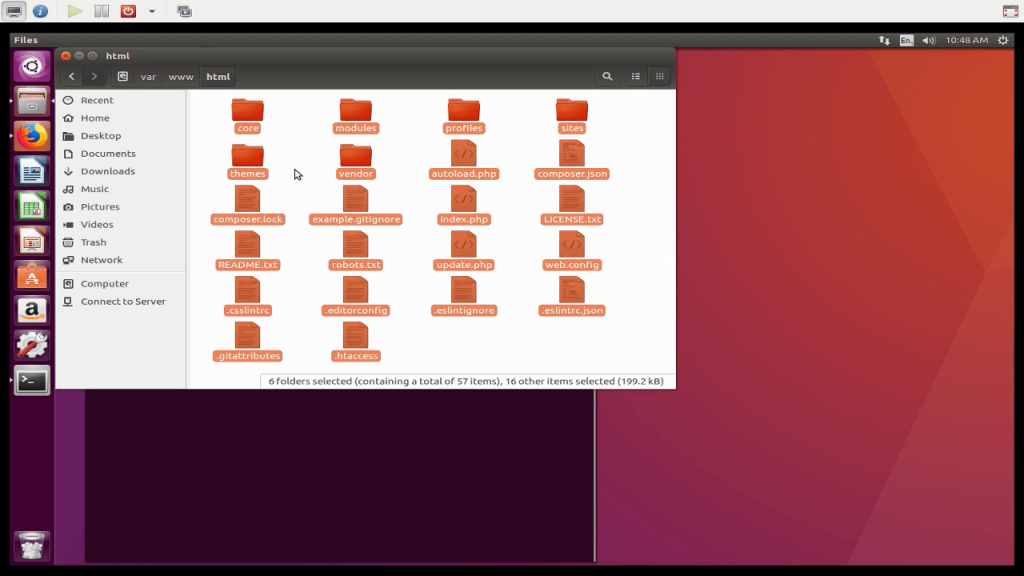
We unzip the downloaded file in the current folder and we should get a folder named drupal-8.4.4. Now we copy the contents of this new drupal folder to our localhost web root. If you installed Apache2 on Ubuntu like I did, it should be “/var/www/html”. To make sure we copy every file, we make the hidden files visible before copying (CTRL-H). It should look like the image below after copying. Hide the hidden files again (CTRL-H).
Now we need to change a few things. Go to the sites/default folder. Here we look for the file default.settings.php. Copy this file and rename it to settings.php. We also add a new folder here called “files”. When we’re done we open the web browser and type localhost in the address bar. We should get the Drupal installer.
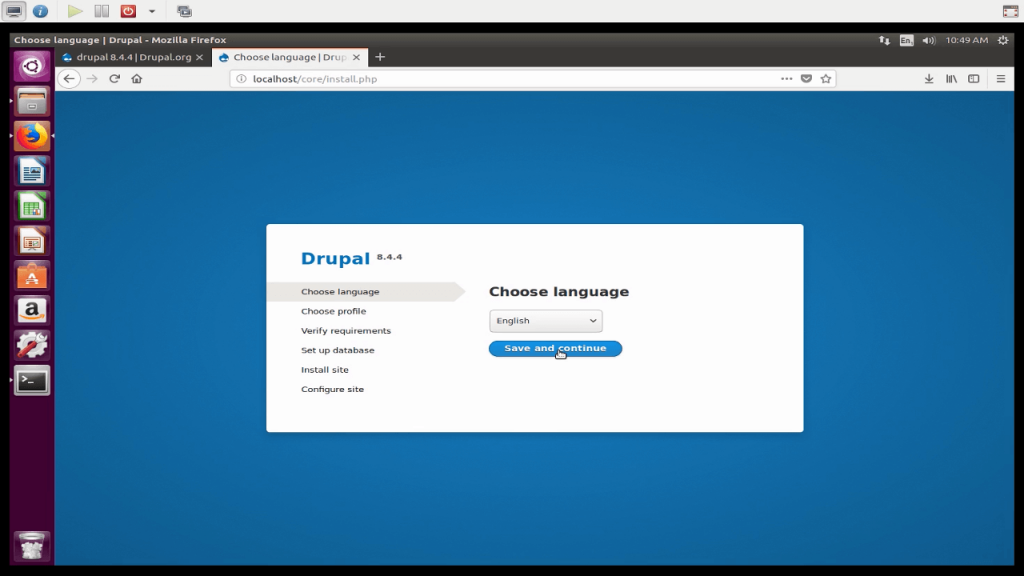
Change your language if you want and continue. Then we choose standard install (default option) and click continue. Now Drupal checks if we have all settings correct for our system. As you can see there are a few extensions missing for php.
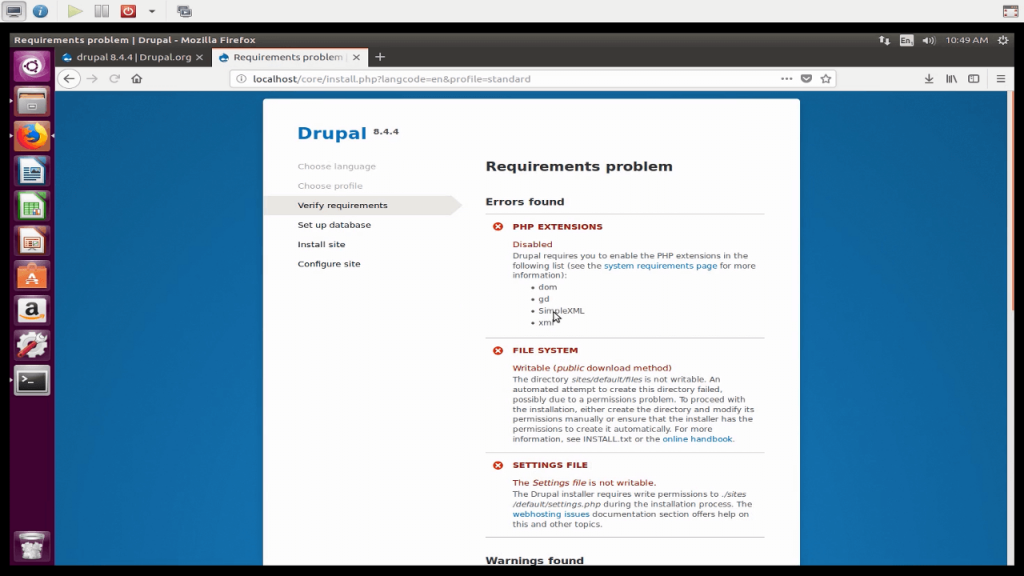
We can add them now. Open the terminal (CTRL-ALT-T) and install the missing extensions.
For example we are missing the gd extension. To install this extension on a Ubuntu machine type
sudo apt-get install php-gdAfter installing the missing extensions we also need to setup Apache2 for rewriting urls. We enable the rewrite module for apache
sudo a2enmod rewriteAfter that we have to change the Apache2 configuration file. In the terminal we type
sudo gedit /etc/apache2/apache2.confA textfile opens. We search for the folder settings for our localhost. This should be near the bottom of the file and starts with <Directory /var/www/>. Here we change the value of AllowOverride from None to All. We save the file and close it.
Now we restart the Apache2 server.
sudo service apache2 restartIn my case there are two more things to fix. The folder files in /var/www/html/sites/default/ needs write permissions. We change this with the chmod command. The file settings.php also needs write permissions. Same thing here, change with chmod.
Now if we go back our web browser and scoll to the bottom of the page we see a link try again. We click it and if all errors are corrected we should get the database setup page.
On the database setup page we need to provide three settings.
Database name: This can be any normal name.
Database username: This is the name of the database administrator. You set this up when installing MySql.
Database password: The password for the database administrator user. This was also setup during MySql installation.
Click continue when done. Drupal now creates the database tables needed. This might take a while. When this is done the standard modules are created in the database. This also might take a while.
When all the database creation stuff is finished we only have one step to go. We need to fill in some basic site settings.
Site name: The name for the website.
Site email address: An email address used for the administer account. This should be a valid email account because all messages from the system are send here by default.
Username: The username for the administrator
Password: The password for the administator
Default country: The country you reside in
Default timezone: Your timezone
At the bottom of the page there are two check boxes. If you want the system to automatically check for updates you leave them checked. Otherwise uncheck the top box and they both are disabled.
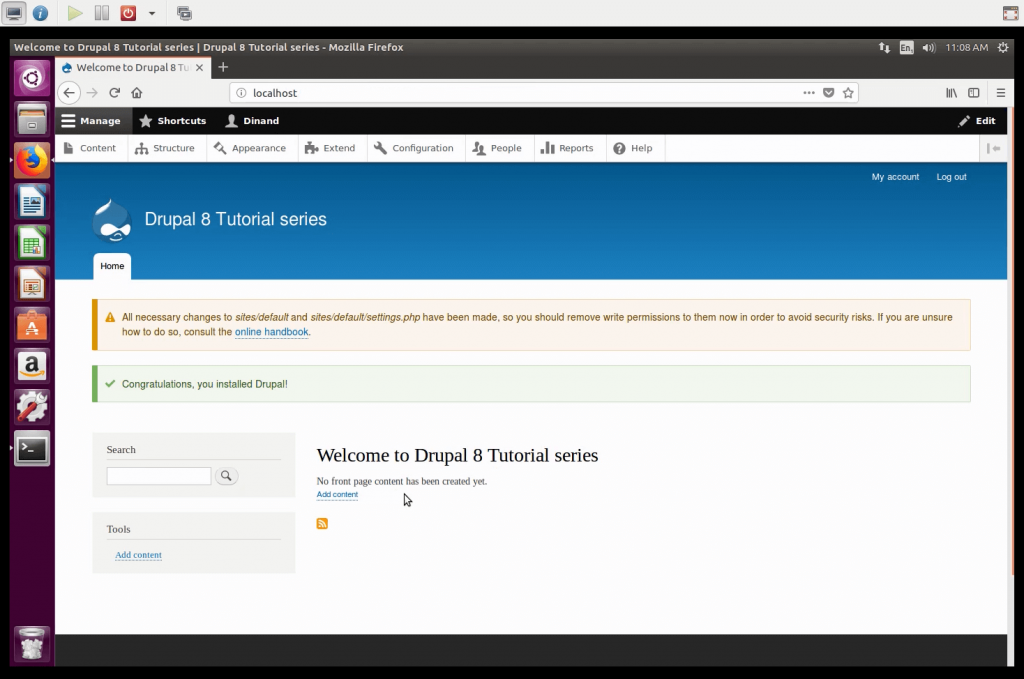
We setup everything now and when we click continue we should get the default Drupal site.
This tutorial is also available as video